Setting up a MetaMask wallet is the single most important step you'll take before entering Web3. Whether you want to trade on decentralized exchanges, explore DeFi protocols, collect NFTs, or play on-chain games - MetaMask is the key. This guide walks you through every step: installation, wallet creation, securing your recovery phrase, funding your account, and connecting to dApps. By the end, you'll have a fully operational, self-custodial Ethereum wallet ready for real on-chain activity.
⚡ Key Takeaways
- MetaMask is a free, non-custodial browser extension and mobile app for the Ethereum blockchain and 20+ EVM-compatible networks
- You'll learn to install MetaMask, create a wallet, back up your Secret Recovery Phrase, add funds, and connect to dApps
- Your Secret Recovery Phrase is the single most important security element - losing it means permanent loss of access
- MetaMask supports Chrome, Firefox, Brave, Edge, iOS, and Android
- Setup takes under 10 minutes; the hardest part is properly securing your recovery phrase offline
What Is MetaMask? Understanding the Wallet Before You Set It Up
Before jumping into setup, it's worth spending two minutes on what MetaMask actually is - because understanding the architecture will save you from costly mistakes later.
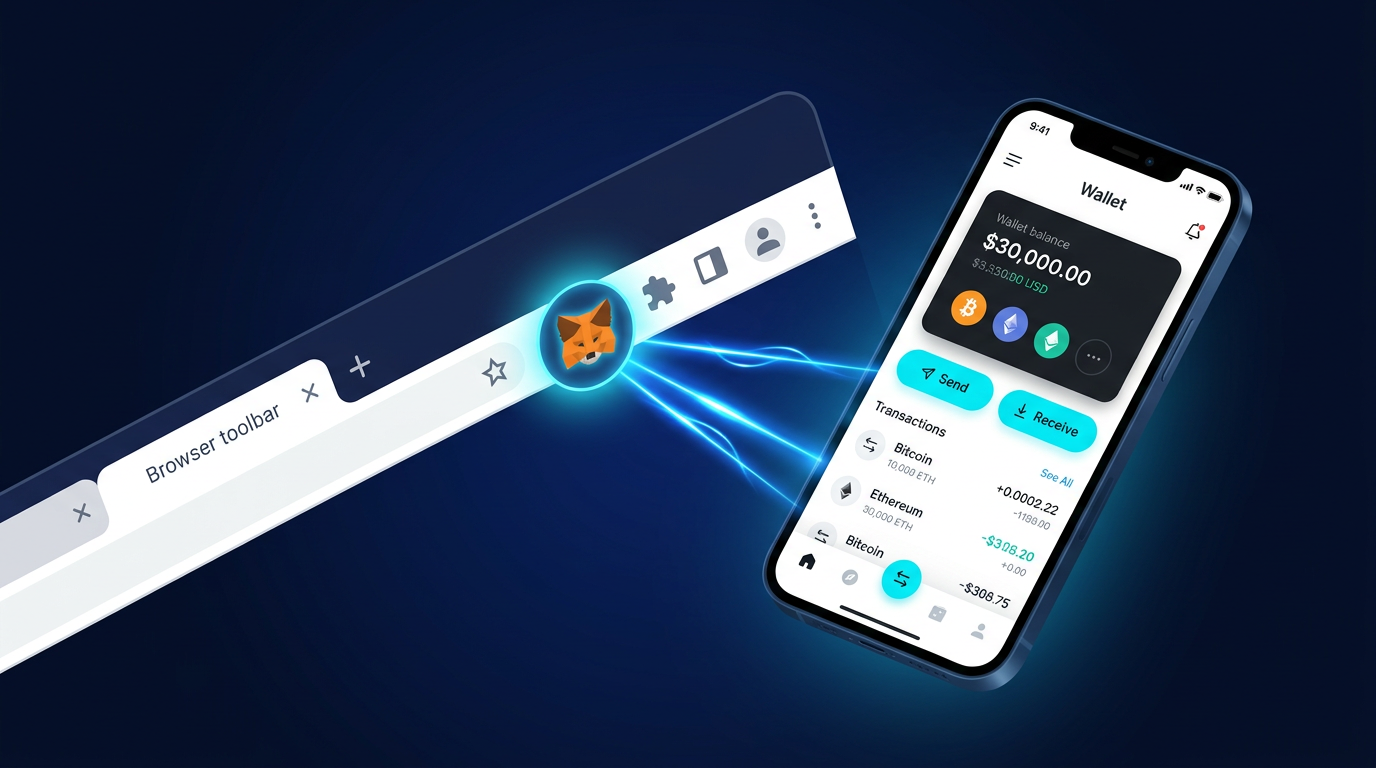
MetaMask is a free, non-custodial software wallet created by ConsenSys in 2016. Today it has over 100 million users worldwide, making it the most widely deployed Web3 wallet in existence. It runs as a browser extension on Chrome, Firefox, Brave, and Edge - and as a mobile app on iOS and Android. The extension acts as a bridge between your browser and the Ethereum blockchain, letting you authorize transactions, interact with smart contracts, and connect to decentralized applications directly from your browser toolbar.
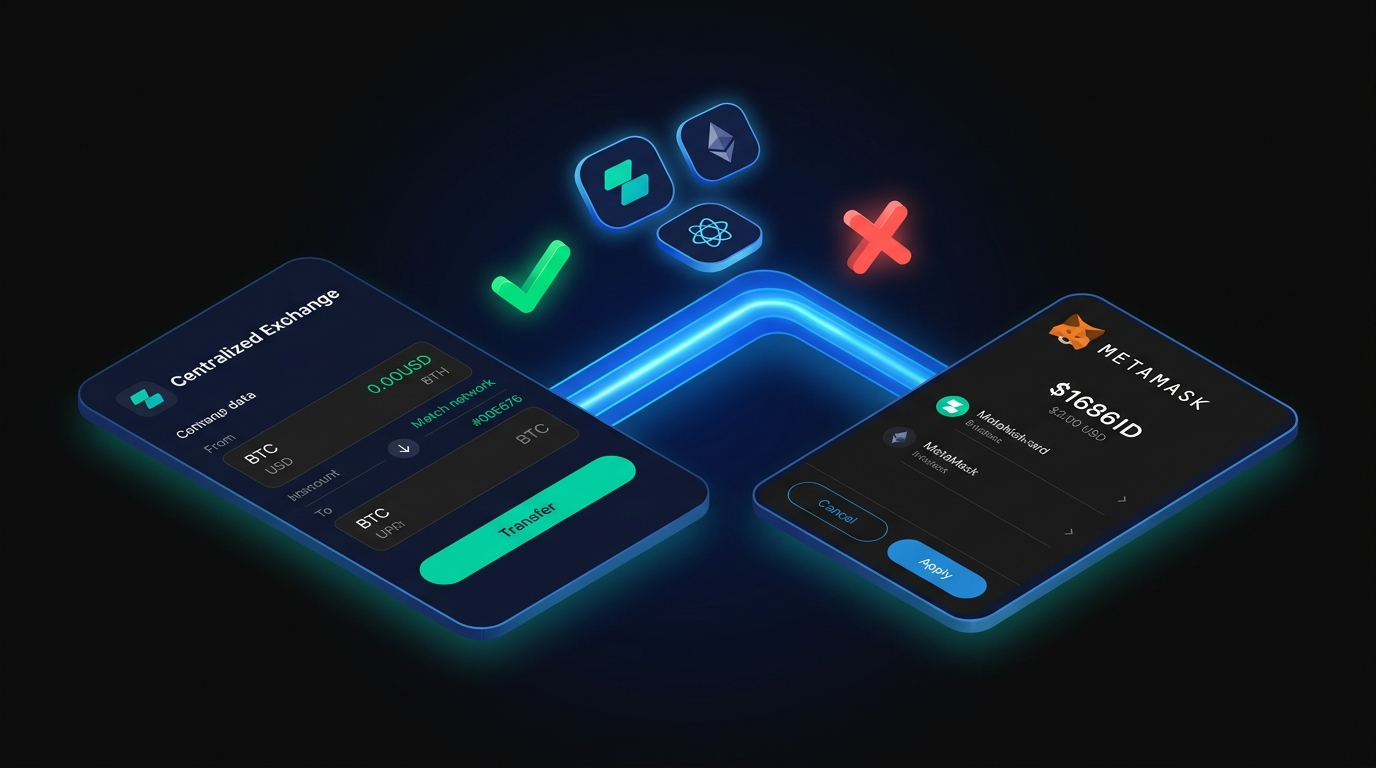
The word "non-custodial" is the critical distinction here. With a custodial wallet - like the wallet attached to a centralized exchange account - the platform holds your private keys. You're trusting a third party with your assets. MetaMask flips that model entirely.
Beyond Ethereum, MetaMask supports any EVM-compatible network - Polygon, BNB Chain, Arbitrum, Optimism, Avalanche, Base, and dozens more. One wallet, one recovery phrase, unlimited on-chain destinations.
How MetaMask Works: Keys, Addresses, and Blockchains
Every MetaMask wallet has three core components:
- Secret Recovery Phrase - 12 words generated at wallet creation. This is the master key. Anyone who has these words controls your wallet, period. There is no reset mechanism, no customer support line, no blockchain authority that can override this.
- Private Key - derived from your recovery phrase. Used to cryptographically sign every transaction you send. You rarely interact with this directly in MetaMask, but it's operating in the background on every action.
- Public Wallet Address - your on-chain identity, formatted like '0xA1b2C3...'. Share this freely to receive crypto. Think of it as your bank account number - public by design.
The recovery phrase generates the private key, which produces the public address. Lose the phrase → lose the wallet. Screenshot the phrase → risk losing the wallet to anyone who accesses that screenshot. The relationship is linear and irreversible.
One recovery phrase can control multiple MetaMask accounts. If you create Account 1, Account 2, Account 3 - they're all derivations of the same root phrase. Back up the phrase once and all accounts are covered.
MetaMask vs. Other Crypto Wallets: When to Use It
MetaMask dominates for one specific use case: active interaction with Ethereum and EVM-compatible dApps. For everything else, there are better tools.
Coinbase Wallet offers a friendlier onboarding experience but the same self-custody model as MetaMask - it's a reasonable alternative if you want a cleaner mobile UI. Hardware wallets are the gold standard for long-term holdings above amounts you can't afford to lose; they can actually be paired with MetaMask for maximum security (more on that later). One important limitation: MetaMask doesn't natively support Bitcoin. BTC lives on a separate blockchain architecture. If your primary interest is Bitcoin, a multi-chain wallet like Trust Wallet is the better starting point.
For Ethereum, DeFi protocols, NFT marketplaces, and on-chain trading platforms - MetaMask is the standard. The ecosystem was largely built around it.

How to Install MetaMask: Browser Extension and Mobile App
Download MetaMask from one place only: metamask.io. Fake MetaMask extensions and apps are a persistent threat - they look identical to the real thing and exist solely to steal your recovery phrase. Before installing anything, you should be at the official MetaMask site or an official browser store listing that links from it.
Supported browsers: Chrome, Firefox, Brave, Edge. MetaMask's mobile apps cover both iOS (App Store) and Android (Play Store). The setup process is virtually identical across all platforms.
⚠ Safety Check Before You Download
- Publisher verification → In the Chrome Web Store, confirm the publisher reads "metamask.io" exactly
- Install count → The listing should show 10M+ users - anything lower is suspicious
- Direct URL only → Navigate to metamask.io yourself; never follow links from ads or DMs
- Mobile apps → On Play Store, verify 10M+ downloads and ConsenSys as publisher
Installing MetaMask as a Browser Extension (Step-by-Step)
- Go to metamask.io and click Download
- Select your browser - Chrome, Firefox, Brave, or Edge
- You'll be redirected to your browser's official extension store. Verify the publisher shows metamask.io and the install count reads 10M+
- Click Add to Chrome (or equivalent for your browser)
- A popup appears - click Add Extension to confirm
- MetaMask opens automatically in a new tab. The orange fox icon also appears in your browser toolbar
If the fox doesn't appear in the toolbar: click the puzzle-piece icon (Chrome) in the top-right corner, find MetaMask in the dropdown, and click the pin icon. Done - the fox is now accessible from every browser session.
The entire process takes under 90 seconds. Once the extension is pinned, you're ready to create your wallet.
Installing MetaMask on iOS and Android
App Store (iOS):
- Open the App Store and search "MetaMask"
- Look for the official listing: publisher ConsenSys, fox logo, 4.0+ star rating
- Tap Get and authenticate with Face ID or Touch ID
Play Store (Android):
- Open the Play Store and search "MetaMask"
- Verify the listing shows 10M+ downloads and the ConsenSys publisher name
- Tap Install
⚠ Fake App Warning
- Play Store risk → Fraudulent MetaMask clones have historically appeared on Android. Don't install any app with fewer than 10M downloads claiming to be MetaMask
- Authentic icon isn't enough → Fake apps replicate the fox icon perfectly - always check the publisher name and download count
- When in doubt → Get the download link directly from metamask.io, not from a search
The mobile version includes a built-in dApp browser, letting you interact with decentralized applications directly from the app without needing a desktop browser. Particularly useful for DeFi protocols and NFT minting on the go.
How to Create and Secure Your MetaMask Wallet
This section carries the highest stakes in the entire guide. The setup process is straightforward - the securing process is where most people either get it right or set themselves up for a catastrophic loss. Read this section carefully before clicking anything.
Visual elements and clean UIs can make this feel like just another account creation. It isn't. There is no password reset. There is no "forgot my phrase" option. There is no MetaMask support team that can restore your wallet. The decentralized architecture that makes MetaMask trustless also makes it unforgiving. If you want to understand why this matters at a deeper level, our guide on how crypto scams target wallet users covers exactly how attackers exploit this moment.
Step-by-Step: Creating a New MetaMask Wallet
- Click the MetaMask fox icon in your toolbar (or open the mobile app)
- On the welcome screen, click Create a New Wallet
(If you already have a wallet elsewhere, click "Import an existing wallet" and skip to Step 6) - A data-sharing prompt appears asking if you want to help improve MetaMask - accept or decline, your choice. This has zero effect on your wallet or security
- Set your password. This is a local access password for the extension on this specific device. It is NOT your recovery phrase. Choose something strong and unique. Store it in a password manager
- Click Create a New Wallet again to confirm
- MetaMask prompts you to secure your wallet. Click Secure My Wallet - do not skip this
- Reveal your Secret Recovery Phrase. Write down all 12 words in exact order on paper. Do this now. Do not proceed until you have them physically written
- Complete the verification quiz - MetaMask asks you to arrange the words in the correct order to confirm you've saved them. This step is not optional
- Wallet created. Your public address now appears at the top of the extension
The password at Step 4 locks the extension on your device. The recovery phrase at Step 7 controls the wallet itself - on every device, forever. They are entirely separate security layers.
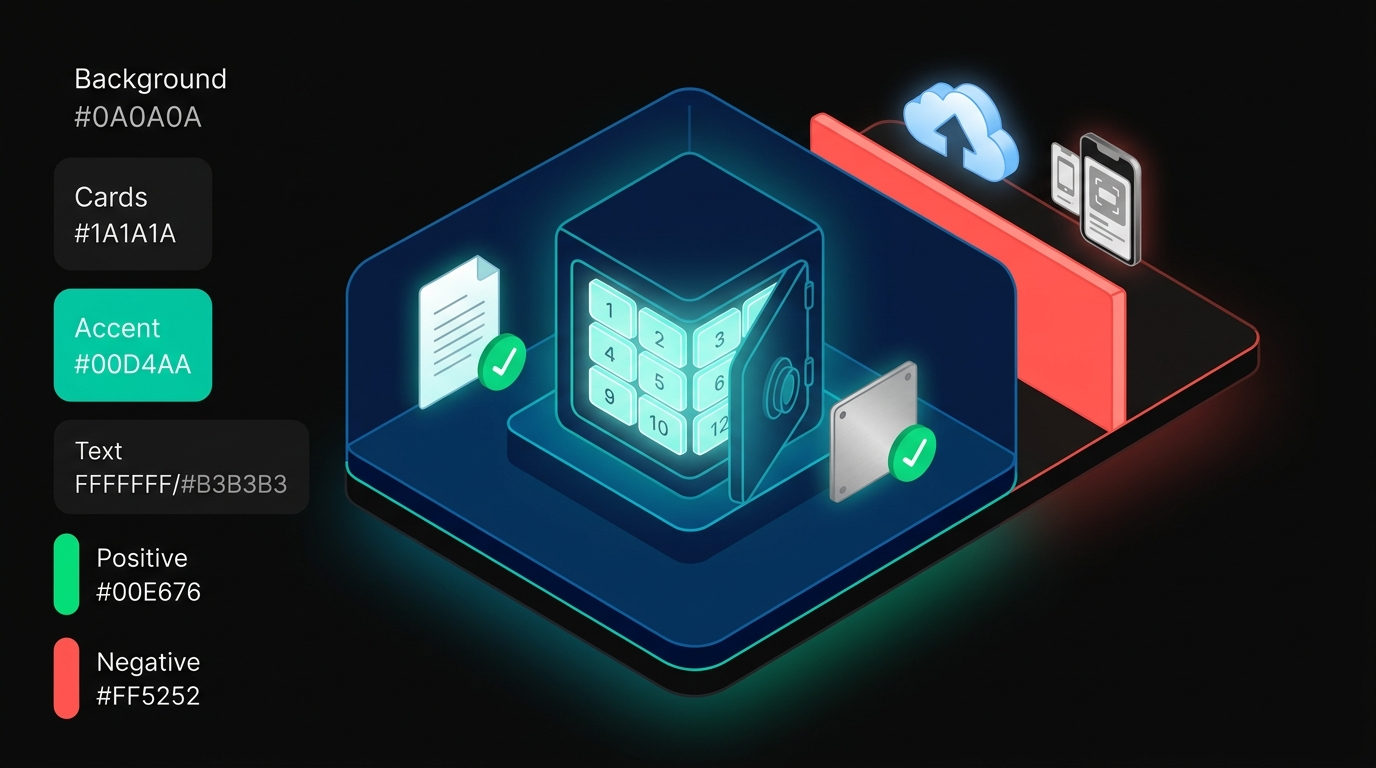
How to Safely Back Up Your Secret Recovery Phrase
The recovery phrase backup is what separates people who eventually lose their crypto from those who don't. The technical setup takes 5 minutes. The backup discipline lasts as long as you hold crypto.
One rule covers most of the unsafe column: if it's connected to the internet, your recovery phrase doesn't belong there. Cloud storage gets hacked. Email accounts get compromised. Screenshots get synced automatically to cloud backups you forgot you enabled.
MetaMask will never ask for your recovery phrase. If anyone online - support agent, moderator, influencer, "MetaMask team member" - asks for your phrase, it's a phishing attack. Full stop. The legitimate MetaMask extension has no mechanism to request your recovery phrase after initial setup.
For holdings above a level you're not willing to lose, a hardware wallet (Ledger or Trezor) adds a physical layer of security that no software solution can replicate. Your MetaMask recovery phrase can be imported into a hardware wallet, and from that point forward, every transaction requires physical button confirmation on the device. The phishing attack surface drops to near zero.
Understanding the MetaMask Interface and Key Features
Once your wallet is created, the extension UI presents everything you need at a glance. The 2026 layout is significantly cleaner than earlier versions - MetaMask has invested heavily in UX improvements for new users.
The Network Selector deserves extra attention early on. MetaMask defaults to Ethereum Mainnet. If you're interacting with a Polygon dApp, you need to switch to Polygon. If you send assets on the wrong network, recovery ranges from difficult to impossible depending on the protocol. Always verify the active network before confirming any transaction.
How to Add Funds to Your MetaMask Wallet
An empty wallet doesn't do much. Three methods to fund it, ordered by how common they are for new users:
Method 1: Transfer from a centralized exchange (most common)
This is the path most new MetaMask users take. If you already hold ETH or other EVM tokens on Coinbase, Binance, Kraken, or similar:
- Copy your MetaMask wallet address (click the account name at the top of the extension)
- In your exchange account, navigate to Withdraw / Send
- Paste your MetaMask address as the destination
- Critical: Select Ethereum (or the appropriate EVM network) as the withdrawal network. Sending ERC-20 tokens on the wrong network sends your funds to an address that exists on a different chain - retrieving them requires advanced recovery steps
- Confirm the withdrawal. ETH transactions typically confirm within 30-60 seconds on Ethereum Mainnet
⚠ Network Warning
- Always match networks → Confirm the network setting matches on both your exchange and MetaMask before sending
- Mismatch = lost funds → If your exchange shows "Network: Ethereum" and MetaMask is set to Ethereum Mainnet, you're aligned. Any mismatch means funds sent to an unreachable address
- Double-check first transfer → Send a small test amount first before transferring a larger sum
Method 2: Buy directly in MetaMask
MetaMask's built-in fiat on-ramp connects to partners like MoonPay, Transak, and Coinbase Pay. Click Buy on the main screen, select your region and payment method, and complete the purchase. Fees are typically higher than exchange withdrawals but the UX is simpler.
Method 3: Receive from another wallet
Share your public address or scan your QR code. The sender initiates the transfer from their end - you just wait for the confirmation.
A note on gas fees: every Ethereum Mainnet transaction requires ETH to pay network validators. Gas fees fluctuate based on network congestion - from a few cents during quiet periods to several dollars during high-demand events. You always need ETH in your wallet to pay gas, even when transacting with other tokens.
How to Connect MetaMask to dApps, DeFi, and NFT Platforms
Here's where MetaMask earns its place in your toolkit. Every major DeFi protocol, NFT marketplace, and on-chain application supports MetaMask connection out of the box.
The connection flow is identical across all platforms:
- Go to the dApp website (e.g., Uniswap, OpenSea, Aave)
- Click Connect Wallet - usually in the top-right corner
- Select MetaMask from the wallet options
- The MetaMask popup appears asking you to confirm the connection - review the site URL, then click Connect
- You're connected. Your wallet address and balance are now visible to the dApp
To disconnect MetaMask from a site: open the extension, click the three dots menu, select Connected Sites, and revoke any connection you no longer want active. Revoking a connection doesn't affect your assets - it just removes the site's ability to request transaction approvals.
Since January 2024, MetaMask has included Blockaid security tools as a default feature. When you interact with a potentially malicious contract - a phishing site posing as a legitimate protocol, or a token approval designed to drain your wallet - MetaMask flags it before you confirm. This won't catch everything, but it substantially reduces exposure to common attack vectors on Ethereum, Arbitrum, Polygon, and Avalanche.
MetaMask Security: How to Keep Your Wallet Safe
Security in self-custody crypto isn't optional - it's the entire product. The same property that makes MetaMask powerful (only you control your keys) is what makes security failures total and irreversible. Here's what actually protects you.
What to do if your wallet is compromised:
Move fast. If you suspect your recovery phrase has been exposed, transfer all assets to a freshly created wallet - using a different seed phrase - immediately. Don't wait to confirm whether the breach is real. Transfer first, investigate later. Gas fees on urgent transfers are trivial compared to the alternative.
The hardware wallet upgrade:
For holdings above a threshold you'd genuinely regret losing, pair MetaMask with a hardware wallet. Ledger and Trezor both support MetaMask integration - the setup takes about 15 minutes and shifts transaction signing to a physical device that can't be remotely accessed. Phishing attacks and malicious scripts can't sign transactions without you physically pressing a button on the device.

MetaMask Alternatives: Other Wallets Worth Considering
MetaMask is the default Ethereum wallet for good reason, but it's not the only option - and it isn't the right tool for every use case. If you're also farming airdrops across multiple ecosystems, having the right wallet per chain matters.
Coinbase Wallet is the most natural MetaMask alternative for Ethereum users - same non-custodial model, slightly friendlier UI for absolute beginners, with decent multi-chain support.
Phantom built its reputation on Solana but has expanded to Ethereum and Bitcoin. If your activity splits between Solana NFTs and Ethereum DeFi, Phantom handles both in one clean interface.
Trust Wallet is the answer when Bitcoin is in the equation. Unlike MetaMask, Trust Wallet natively supports BTC and spans 65+ blockchains - useful if your portfolio isn't Ethereum-centric.
Rainbow is worth a look for Ethereum-focused mobile users who want a more polished visual experience than MetaMask's functional-but-dated UI.
None of these replace MetaMask for heavy EVM dApp interaction. The ecosystem - from Uniswap to Aave to every on-chain gaming platform on Ethereum - was built around MetaMask first. Compatibility is essentially universal. For everything else, the right wallet depends on the chain and use case you're working with.
Platforms built around self-custody and on-chain verifiability - like Zipmex's decentralized trading and gaming infrastructure - reflect where the Web3 ecosystem has been heading since MetaMask first established the non-custodial standard. The principle is the same: your keys, your assets, your outcomes.
Conclusion: Start Your Web3 Journey with MetaMask
Getting a MetaMask wallet set up takes less time than it takes to read this guide. The technical steps are genuinely straightforward. What matters is that you complete the security steps with the same seriousness as the setup steps - because the entire value of self-custody depends on how well you protect what only you can control.
What to do next, based on where you are:
If you're a complete beginner:
You've installed MetaMask, created your wallet, written down your recovery phrase, and added some ETH. Your next step is a first real interaction - try swapping a small amount of ETH for a stablecoin on Uniswap, or connecting your wallet to a marketplace and exploring what's listed. Use small amounts while you build familiarity with the transaction confirmation flow.
If you're at the intermediate level:
You're ready to explore DeFi in earnest - liquidity provision on Curve, lending/borrowing on Aave, yield strategies on various Ethereum and Arbitrum protocols. This is also the right time to set up a hardware wallet if your holdings justify it. The 15-minute Ledger-MetaMask integration is one of the highest-ROI security upgrades in crypto.
If you're experienced and building out your setup:
MetaMask supports custom RPC networks, MetaMask Snaps for extended functionality, and Remix IDE integration for smart contract deployment - features that push it from a wallet into a development environment. Snaps let third-party developers add features directly to MetaMask, from advanced security monitoring to specialized protocol interfaces.
One last thing, regardless of level: your Secret Recovery Phrase is offline, on paper, in a secure location. If you haven't confirmed that - stop, check, and fix it before you do anything else with your wallet.
Crypto trading and DeFi activity involve substantial risk of loss. Self-custodial wallets place full responsibility for security and asset management on the user. This guide provides technical setup information only and does not constitute financial advice.
Last updated: April 2026.
Frequently Asked Questions
What is MetaMask and what is it used for?
MetaMask is a free, non-custodial crypto wallet available as a browser extension and mobile app. It connects users to the Ethereum blockchain and any EVM-compatible network - Polygon, Arbitrum, BNB Chain, Optimism, and more. In practical terms, it's the universal key to Web3: you use MetaMask to trade on decentralized exchanges, lend and borrow on DeFi protocols, buy and sell NFTs, play on-chain games, and vote in DAO governance. Created by ConsenSys in 2016, it now serves over 100 million users worldwide and is the most widely supported wallet in the Ethereum ecosystem.
Is MetaMask free to download and use?
MetaMask is completely free to download and install. The wallet itself charges no fees for holding assets or connecting to dApps. The only costs you'll encounter are network gas fees - paid to blockchain validators, not to MetaMask - and a small service fee when using MetaMask's built-in swap feature (typically 0.875%). There are no subscription fees, no account fees, and no charges for sending or receiving tokens between wallets. MetaMask generates revenue through its swap aggregator feature; the core wallet functionality is and has always been free.
What is a Secret Recovery Phrase in MetaMask?
Your Secret Recovery Phrase (sometimes called a seed phrase or mnemonic) is the 12-word master backup generated when you create a MetaMask wallet. These words, in their exact sequence, give complete and permanent control over your wallet and all accounts derived from it. They work on any device, in any MetaMask installation, forever - they're not tied to a specific phone or computer. The words are generated from a standardized cryptographic method (BIP-39), meaning they can restore your wallet in other compatible wallets too. Treat this phrase like the combination to a vault: anyone who has it owns everything in your wallet.
What happens if I lose my MetaMask Secret Recovery Phrase?
If you lose your Secret Recovery Phrase and you no longer have access to your wallet through a logged-in device, the funds are permanently inaccessible. MetaMask cannot recover it - there is no centralized server that stores it, no customer support escalation path, and no blockchain mechanism for account recovery. This is a feature of the self-custody model, not a flaw: the same property that means no company can freeze or seize your assets also means no company can restore them. This is why writing down the phrase and storing it securely offline isn't optional - it's the entire security architecture.
How do I safely back up my MetaMask wallet?
Write your Secret Recovery Phrase on paper - clearly, in the exact order MetaMask displays the words - and store it somewhere physically secure: a fireproof safe, a locked drawer, or a secure document storage location. For significant holdings, metal backup plates are fireproof and waterproof alternatives to paper. Keep at least one backup in a location separate from your primary residence. What you should never do: take a screenshot, save to cloud storage, email to yourself, or type it into any notes app. Any internet-connected storage creates attack surface. Offline physical storage remains the only genuinely safe backup method.
What are gas fees and why do I have to pay them in MetaMask?
Gas fees are payments to Ethereum network validators for processing and securing your transactions. Every action on Ethereum - sending tokens, swapping on a DEX, interacting with a smart contract - consumes computational resources that validators are compensated for via gas. You pay gas in ETH, even when transacting with other tokens. Gas prices fluctuate with network demand: during high-activity periods, fees can spike significantly. For smaller transactions, consider using Ethereum Layer 2 networks like Arbitrum or Optimism where gas fees are typically 90-95% lower than Ethereum Mainnet. You always need a small ETH balance to cover gas on any EVM network.
Can I use MetaMask with a hardware wallet like Ledger?
Yes, and for significant holdings, this combination is strongly recommended. To connect a Ledger: plug in the device, open the Ledger Live app and unlock it, then in MetaMask click Accounts → Add Account or Hardware Wallet → Ledger. MetaMask detects the device and imports your Ledger accounts. From that point, any transaction initiated through MetaMask requires physical confirmation on the Ledger device - pressing a button on the hardware. Malicious websites, scripts, or compromised browsers cannot execute transactions without your physical approval. The attack surface for phishing drops dramatically. Setup takes about 15 minutes including Ledger firmware updates.